I have this mini bulletin board in the back of my room that I have no idea what to do with. I was thinking that I could use it as a “parent info” board or a place to hang little notes from the kids. Some crafting need to happen so I could make a place to hang my notes. I thought…cork boards!
Supplies:
-square cork board cut in half (from Target)
-stapler
-ribbon
-scissors
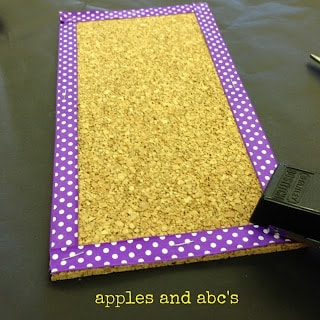
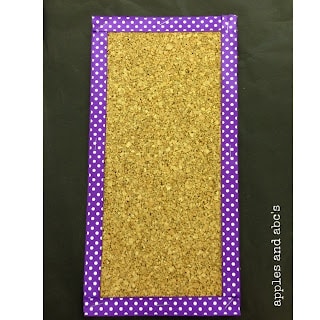
I normally use mod podge for everything. But when I was looking at the edges of the cork board, I thought of just stapling the ribbon down to make a cute border. And to my surprise, it worked pretty well! I just cut the ribbon the length of each side, and stapled them down.
The ribbon, helped define the edges of the cork board AND made them look way cuter. 😉
Here you can see my mini bulletin board and the little cork boards on display. I hung them with push pins, and one small nail on the top. The green white/magnetic board in the middle is from Big Lots. I am thinking of hanging the parent newsletter here, and possibly upcoming field trip dates and info.
Any ideas on what I should hang here???
Share This:
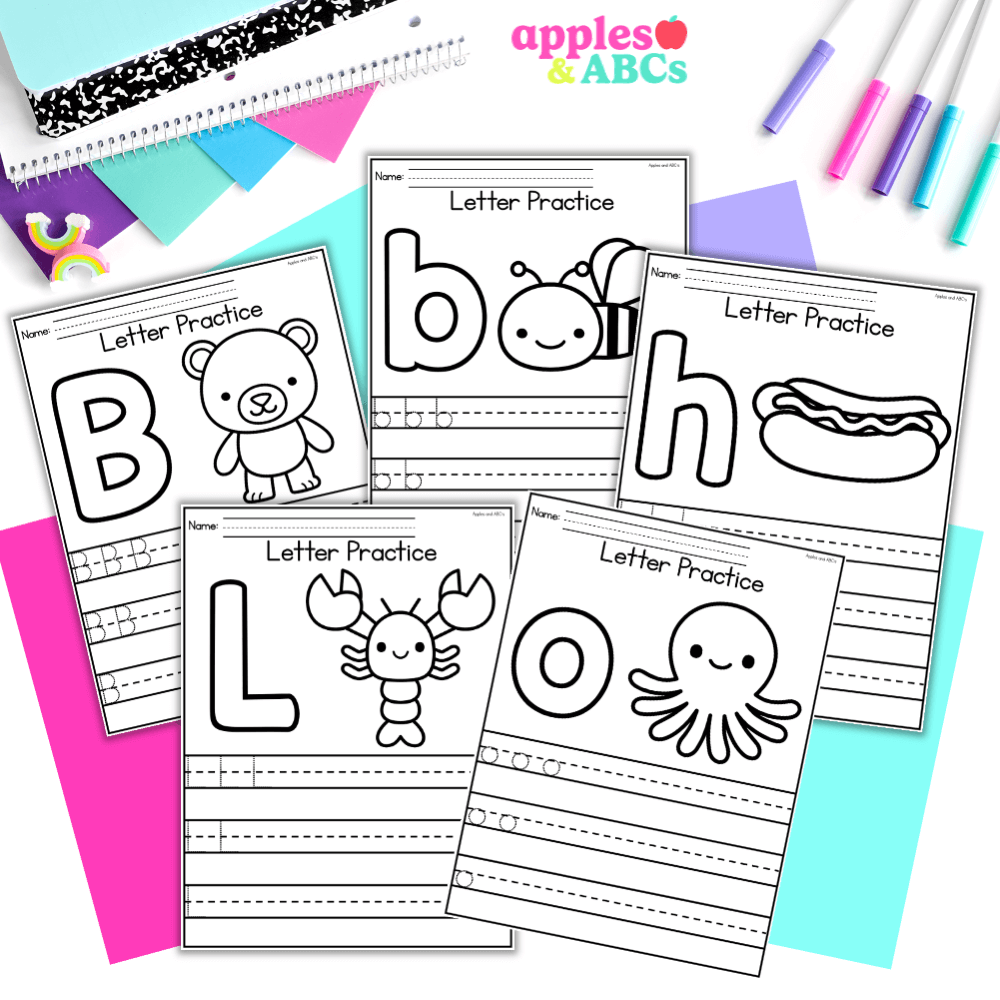
free Letter tracing activity A-Z upper and lower case
Practice letter formation with these independent, engaging, and zero-prep. printables! Use them for whole group, homework, small group, or for students that need extra practice with writing their letters.
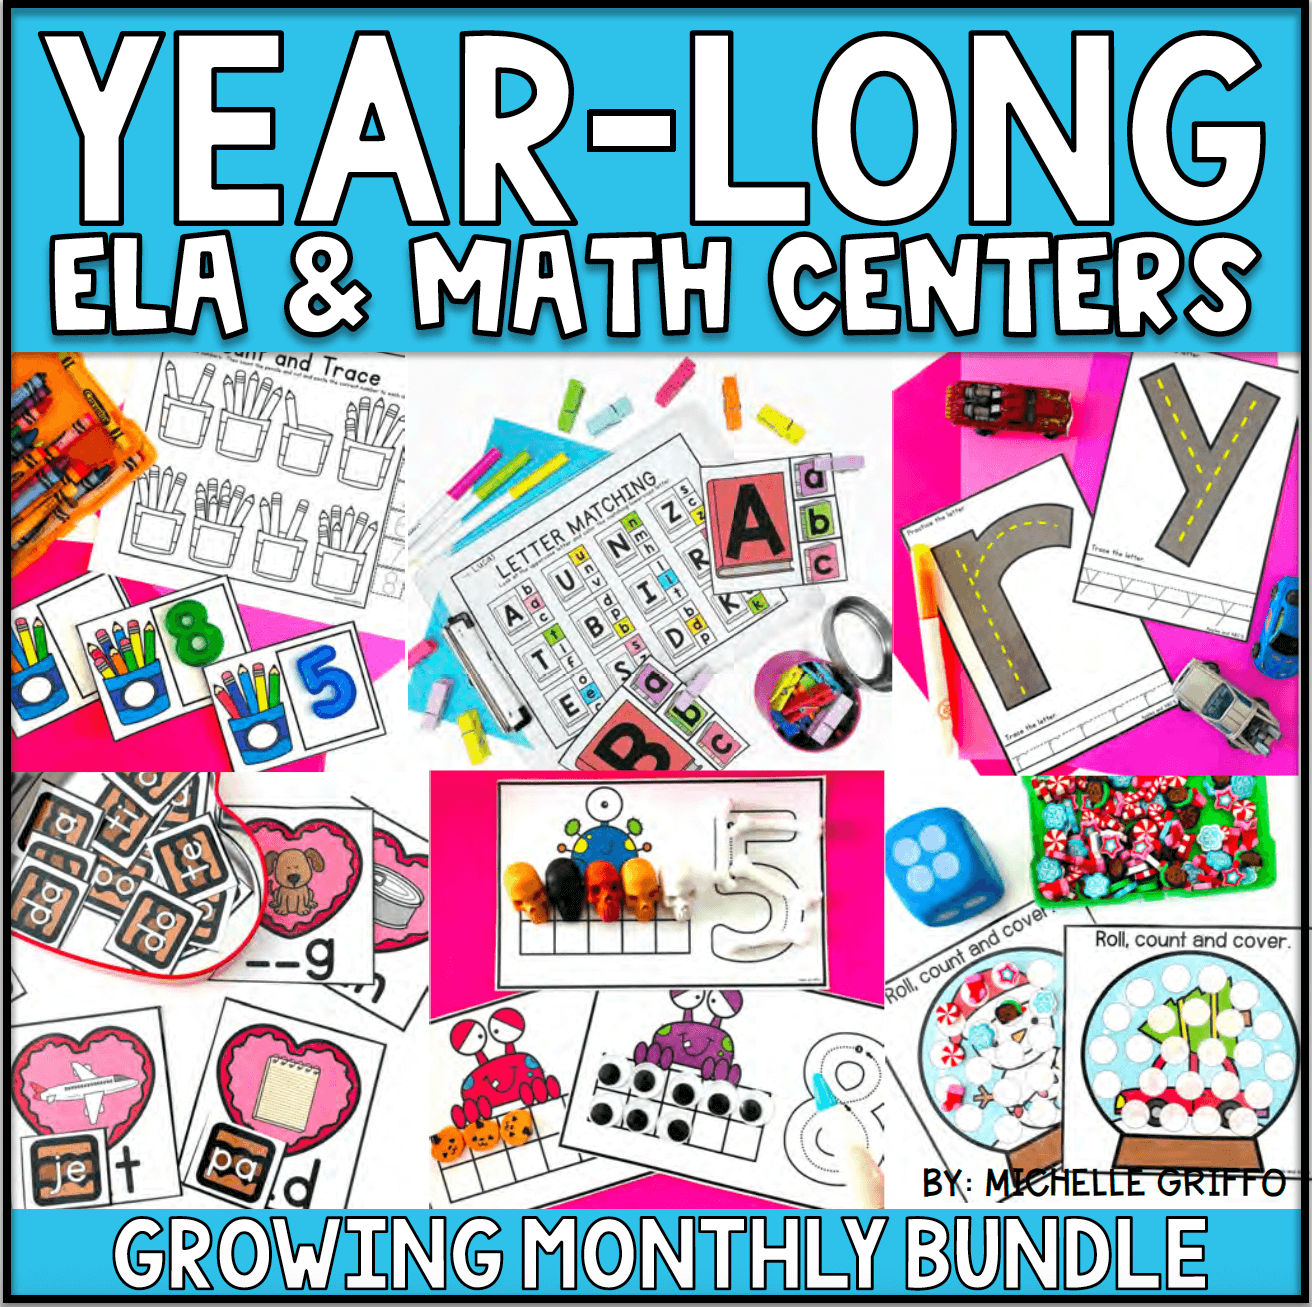
Center Bundle
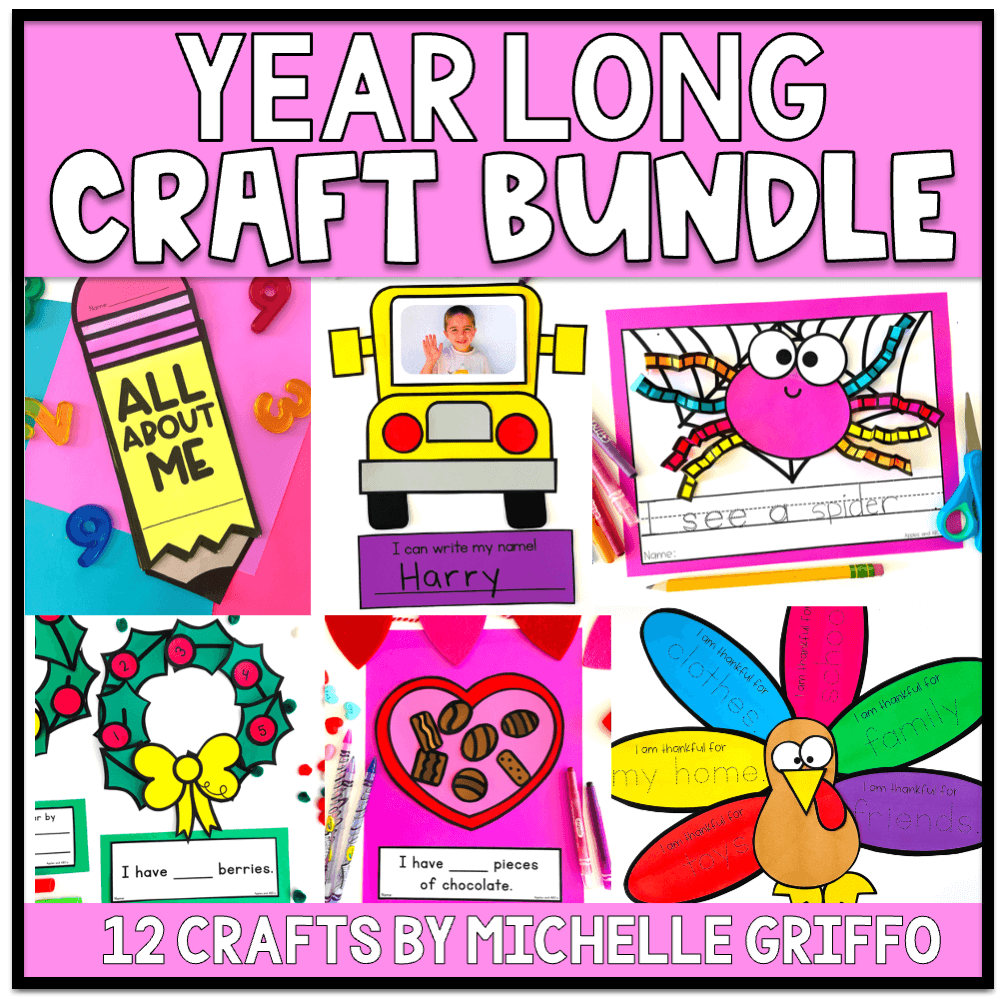
craft bundle
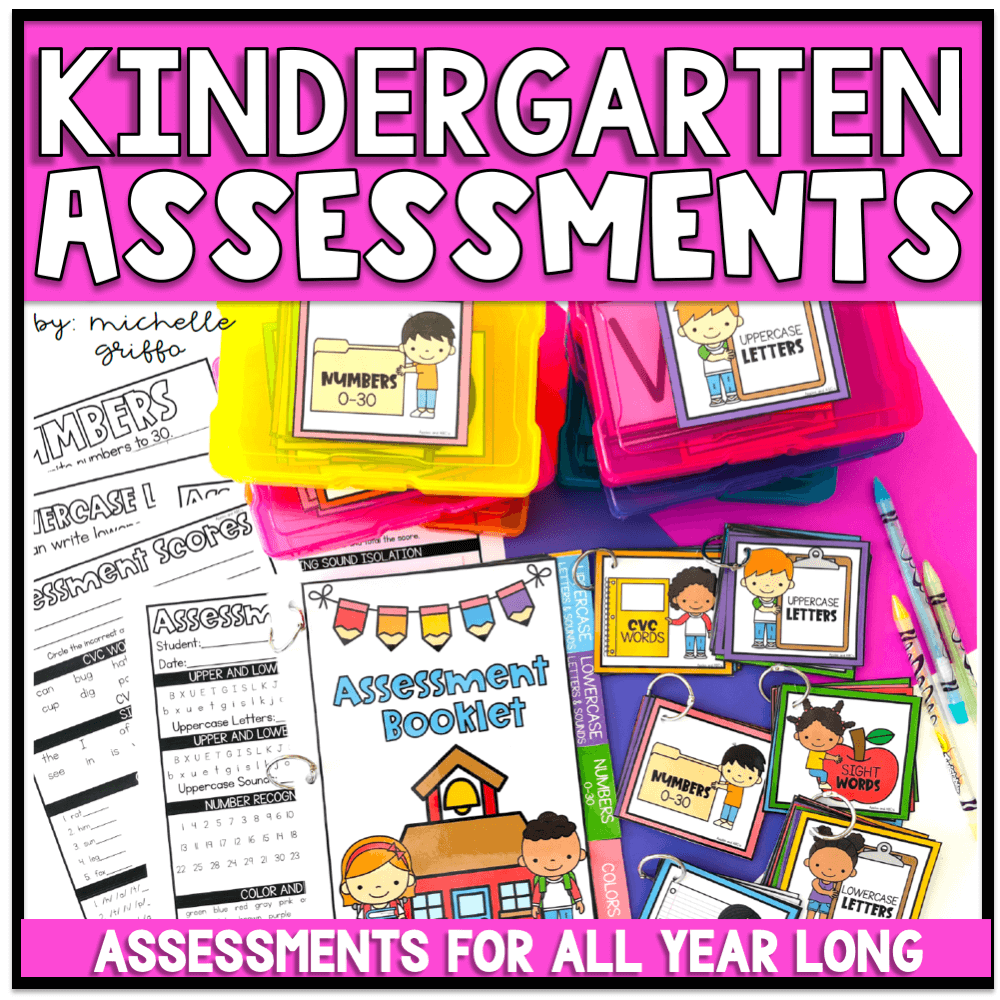
Kindergarten Assessments
Similar Posts
4 responses to “Cork Board DIY”
-
Your cork boards came out so cute!
-
I love this! So cute and so easy! This may be on my weekend to do list… Hobby Lobby here I come! I love the color combo you used!
See you soon!
Christy
Crayons and Whimsy -
Cute idea! I might have to steal this for an itty bitty space I've been wanting to fill up! 🙂
-Aris
-
Love your cork boards! So cute!
Linda






Leave a Reply